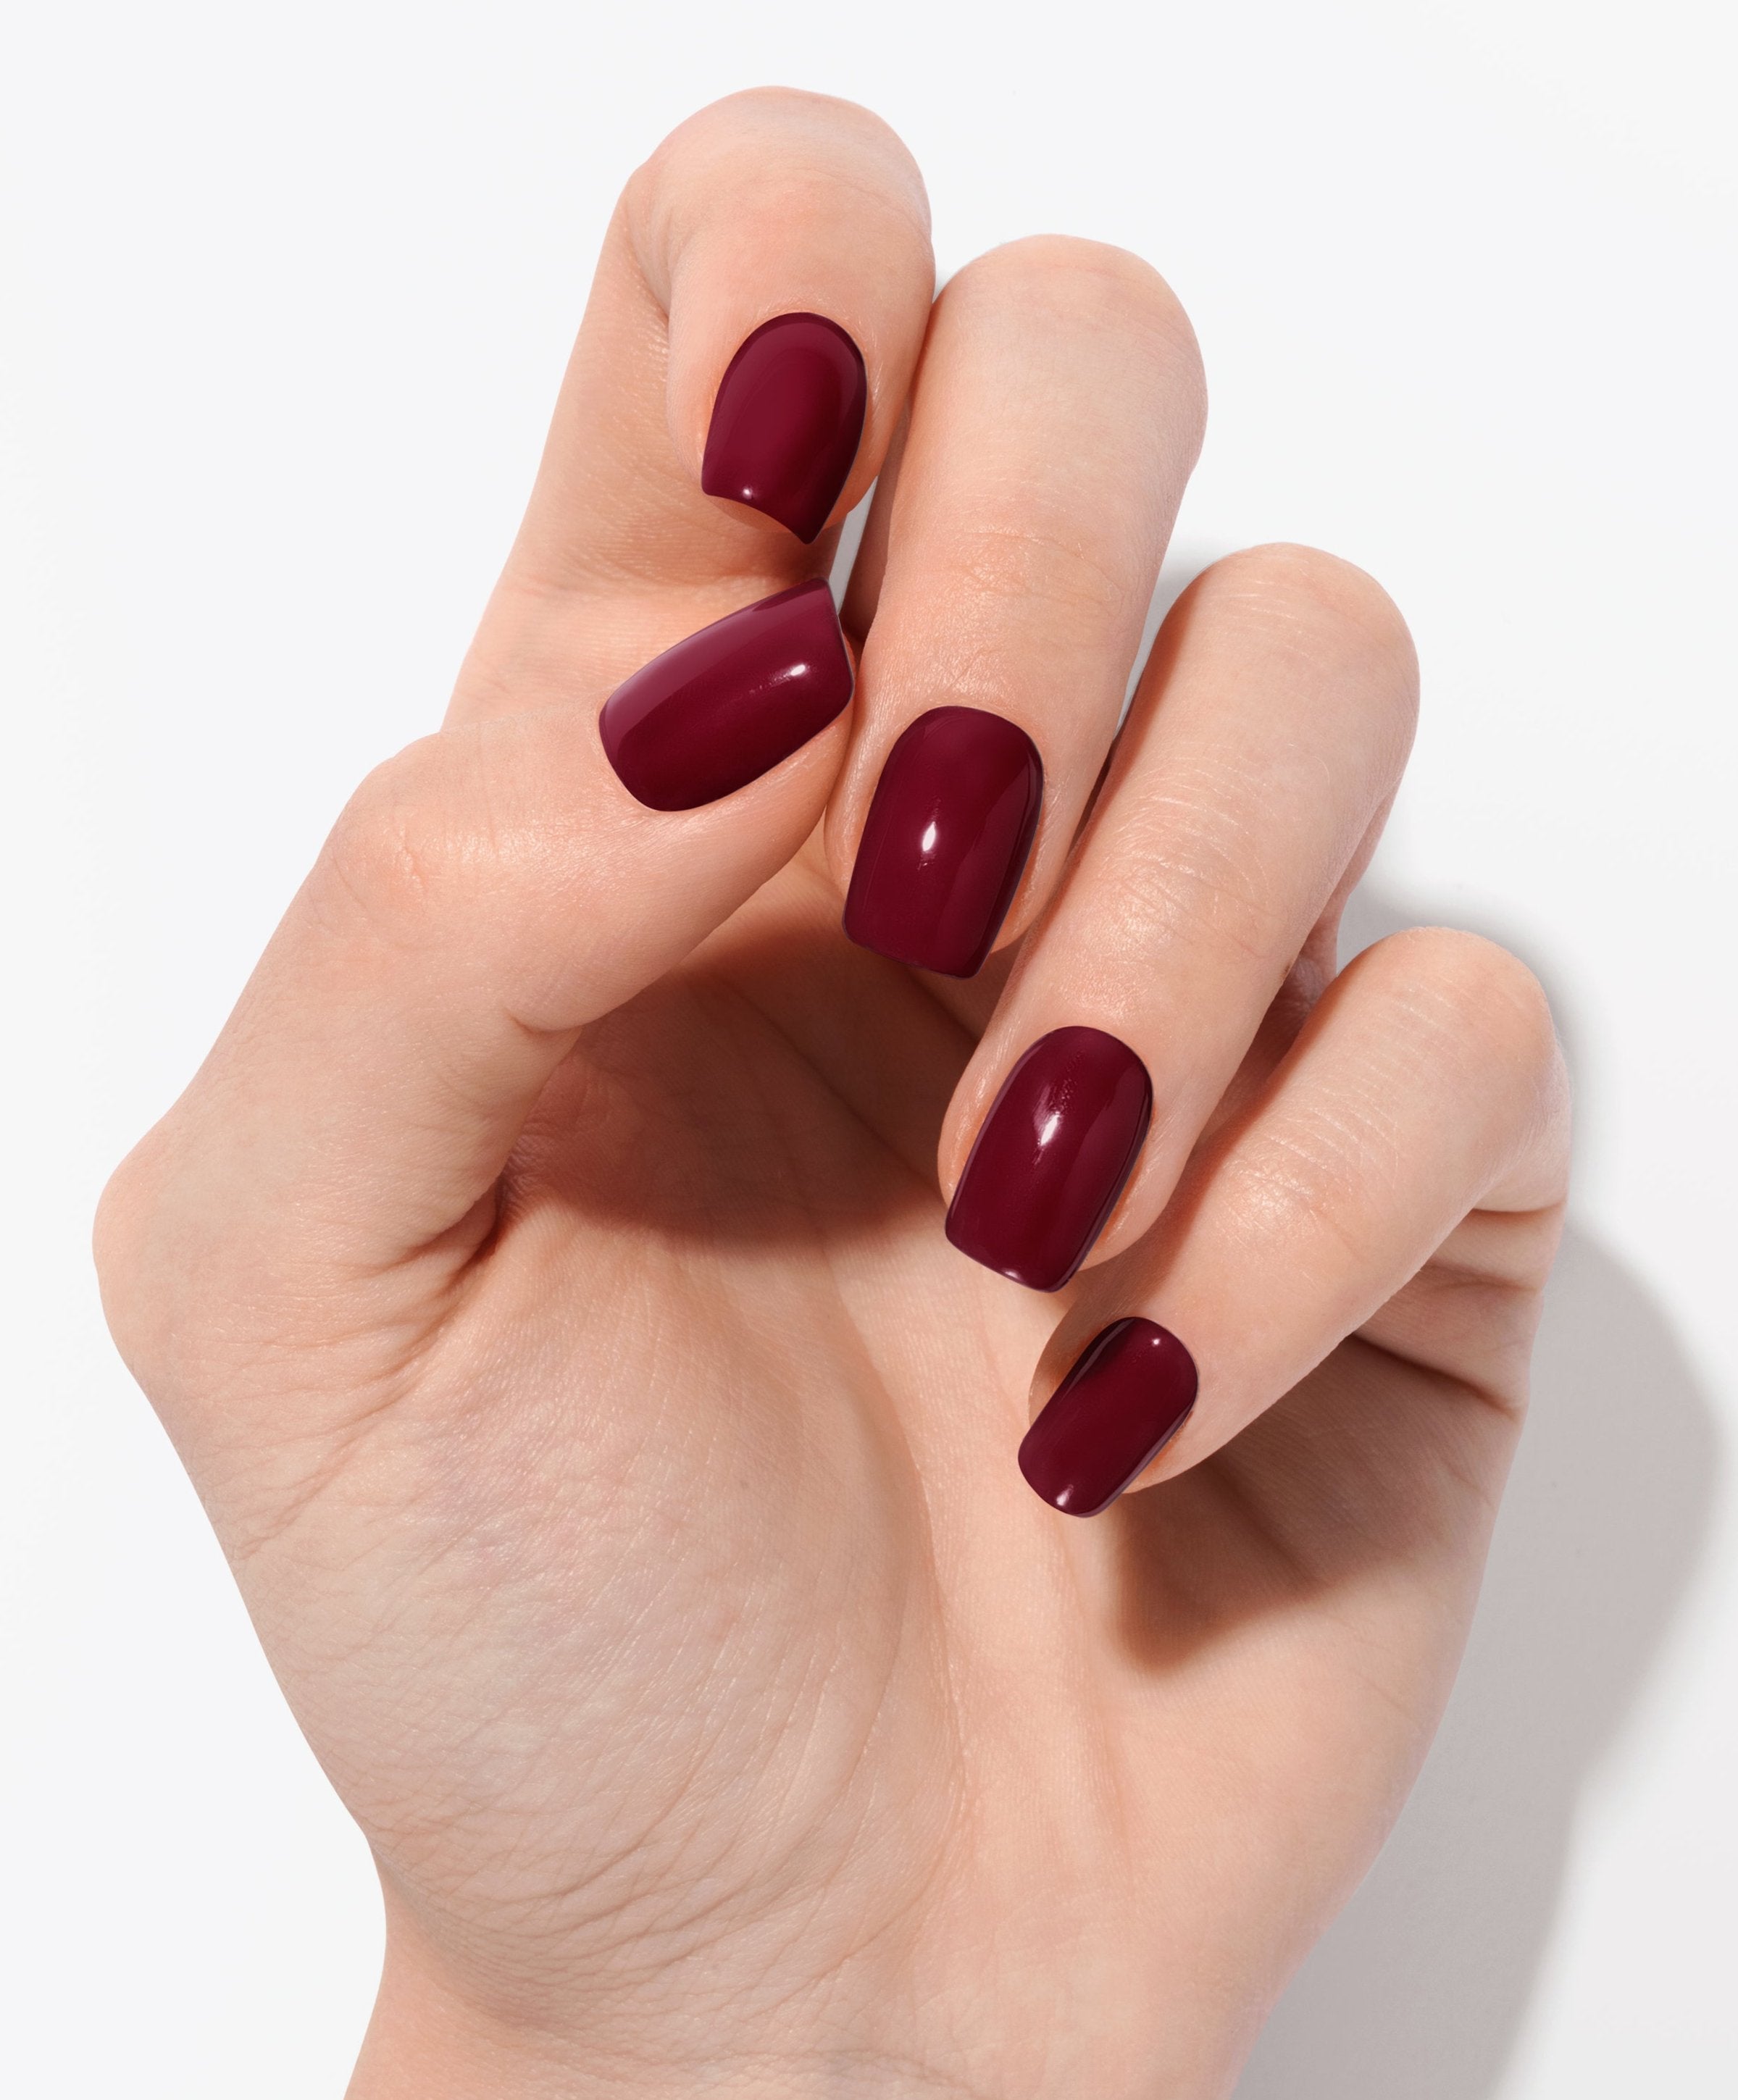
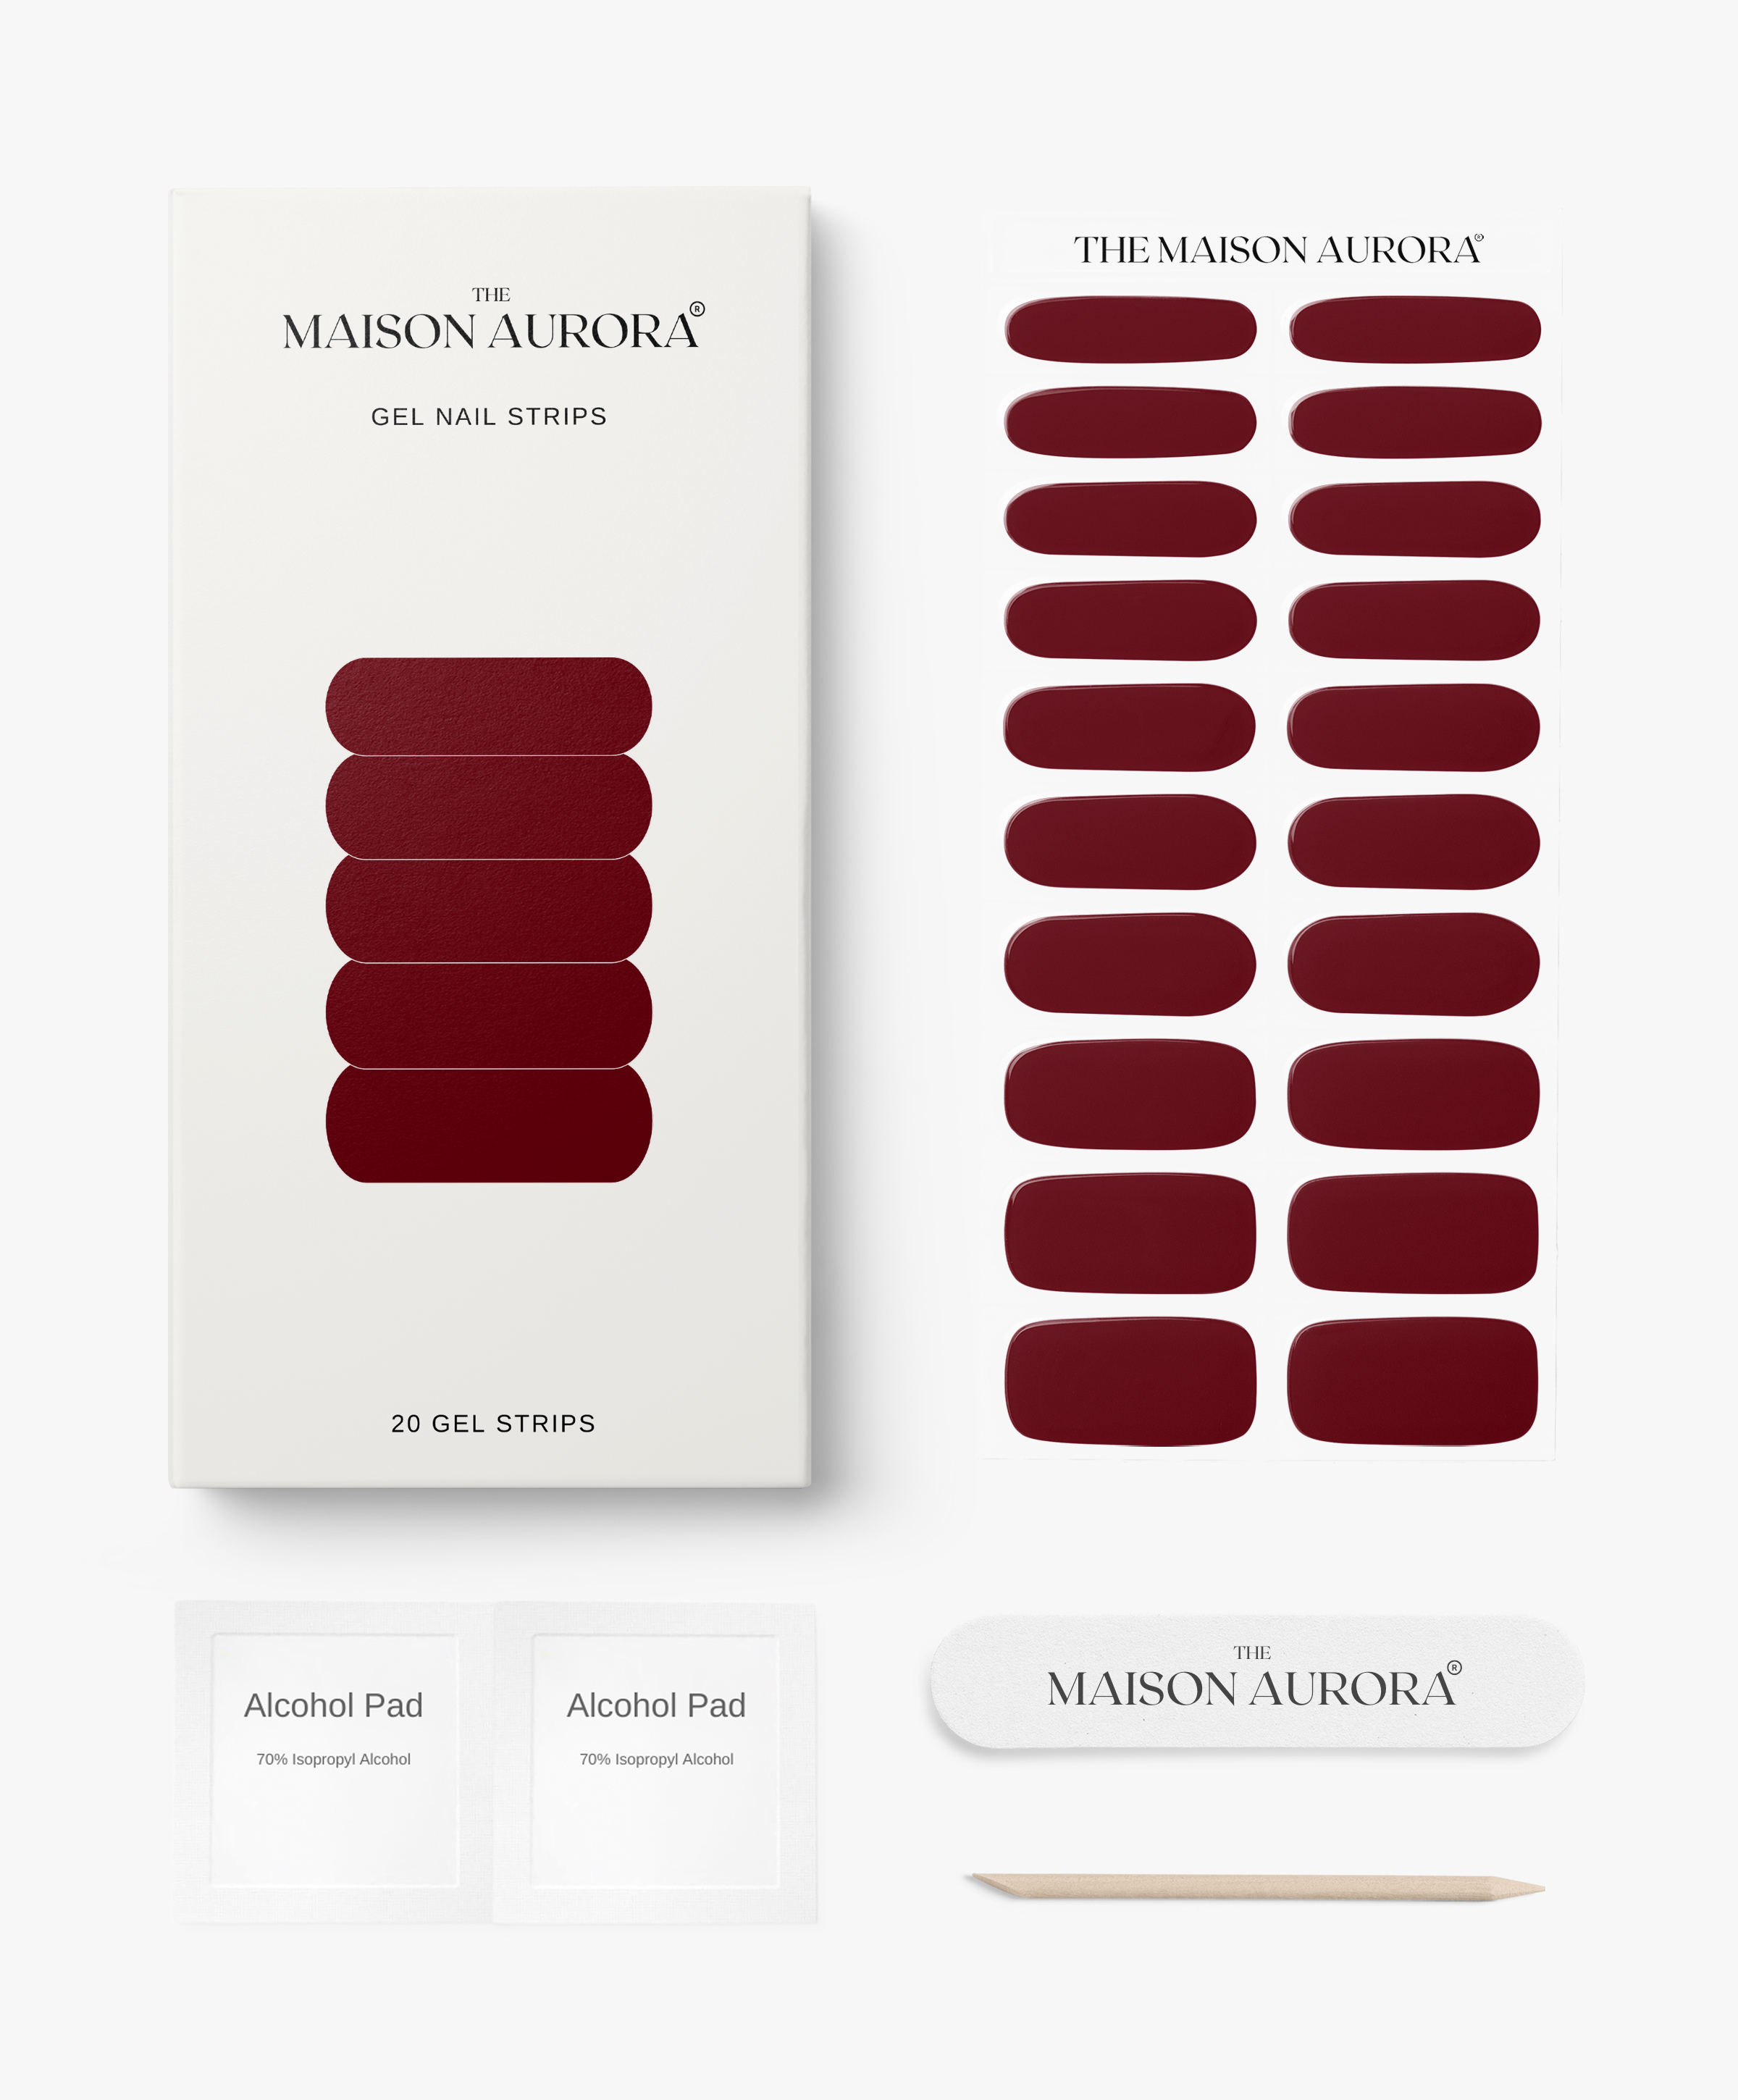
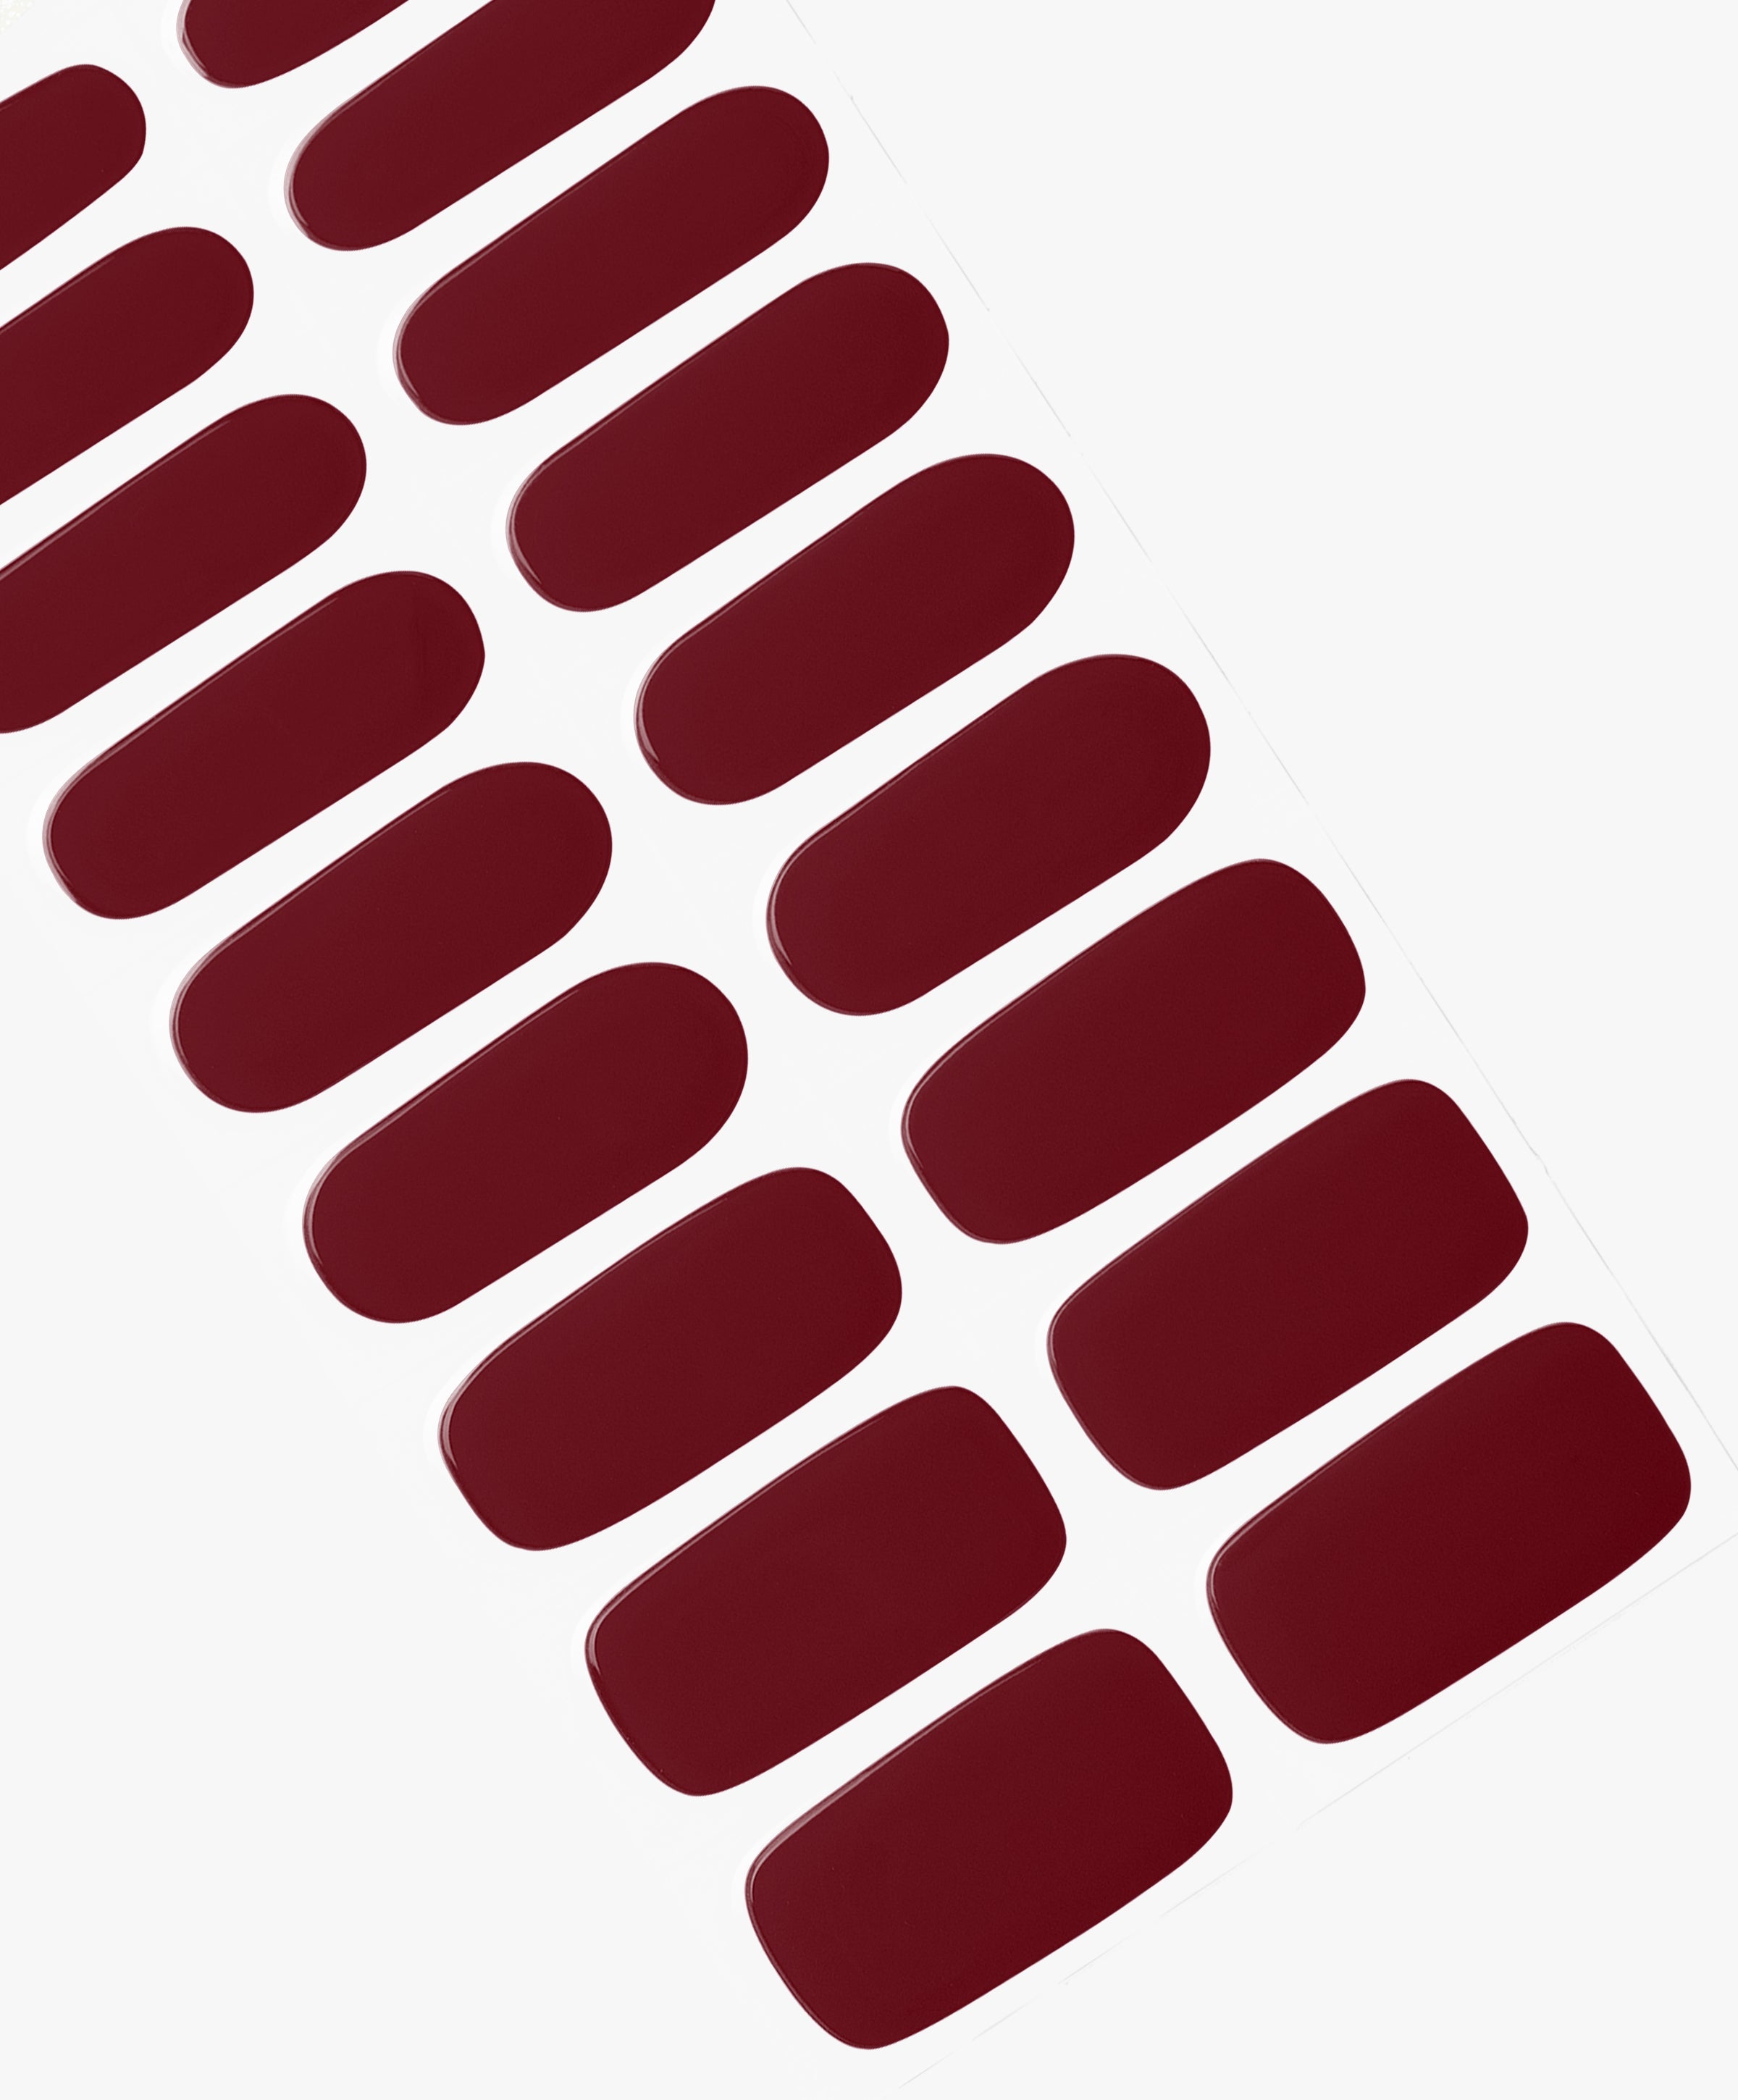
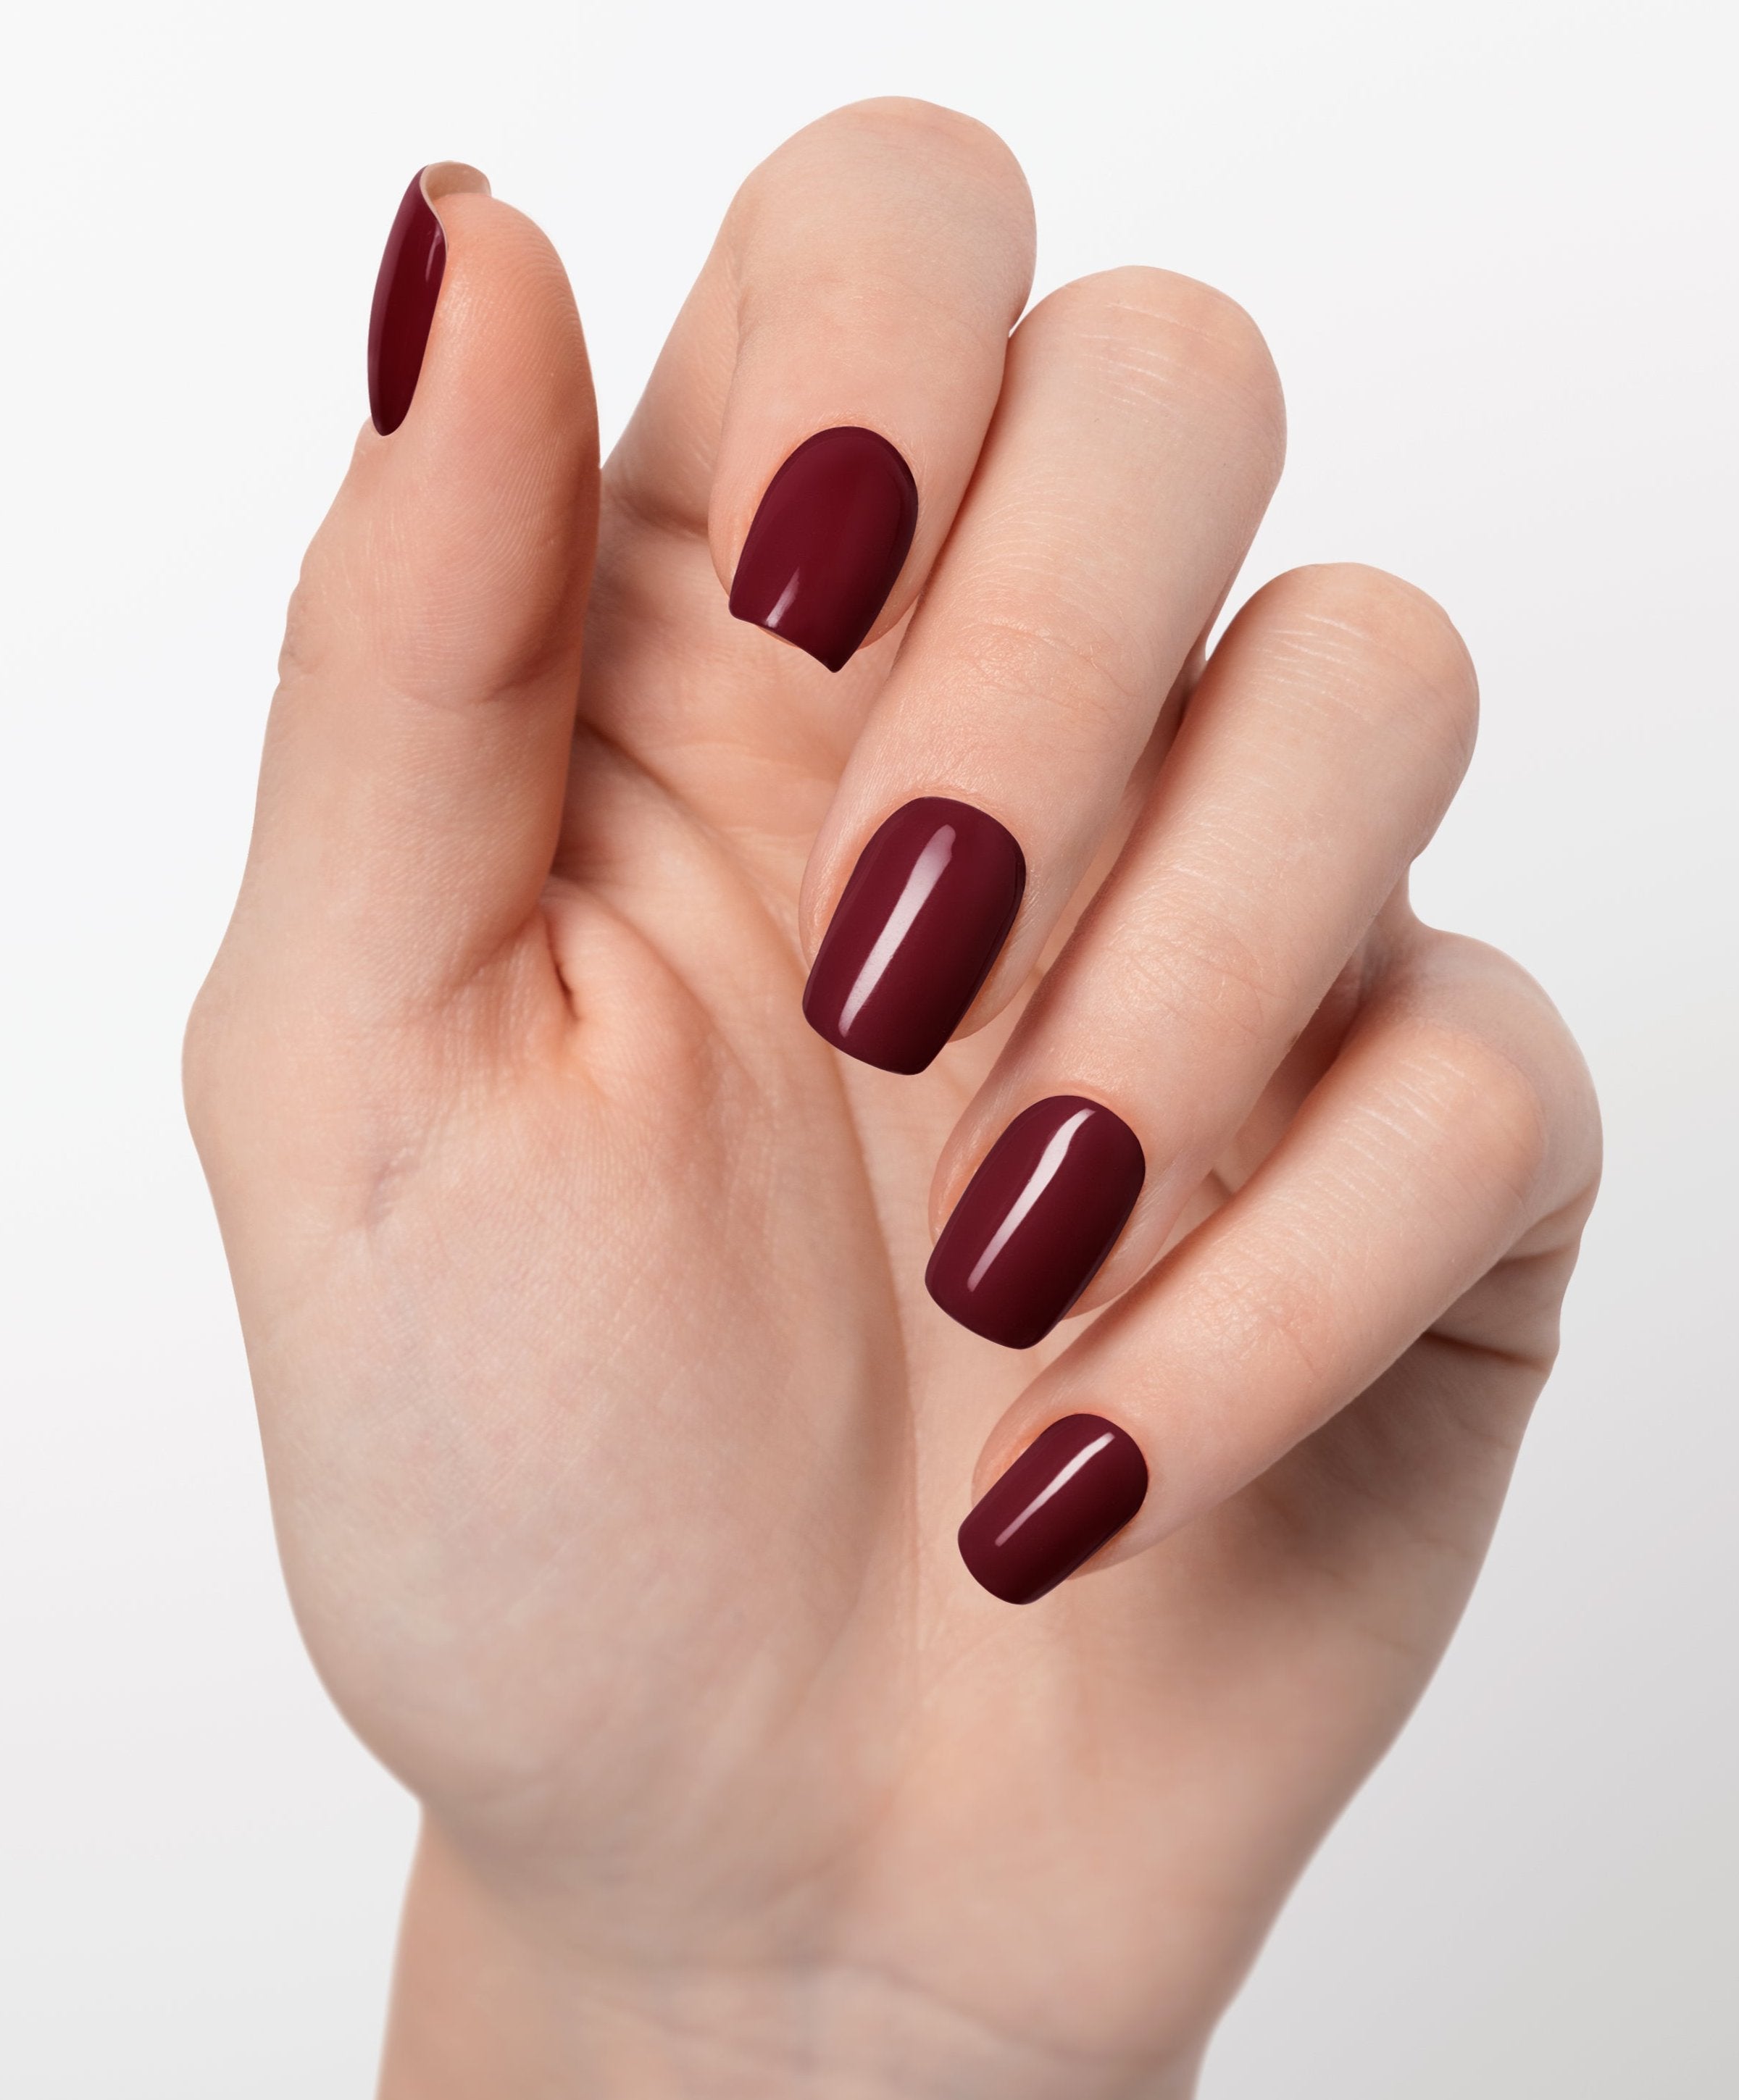
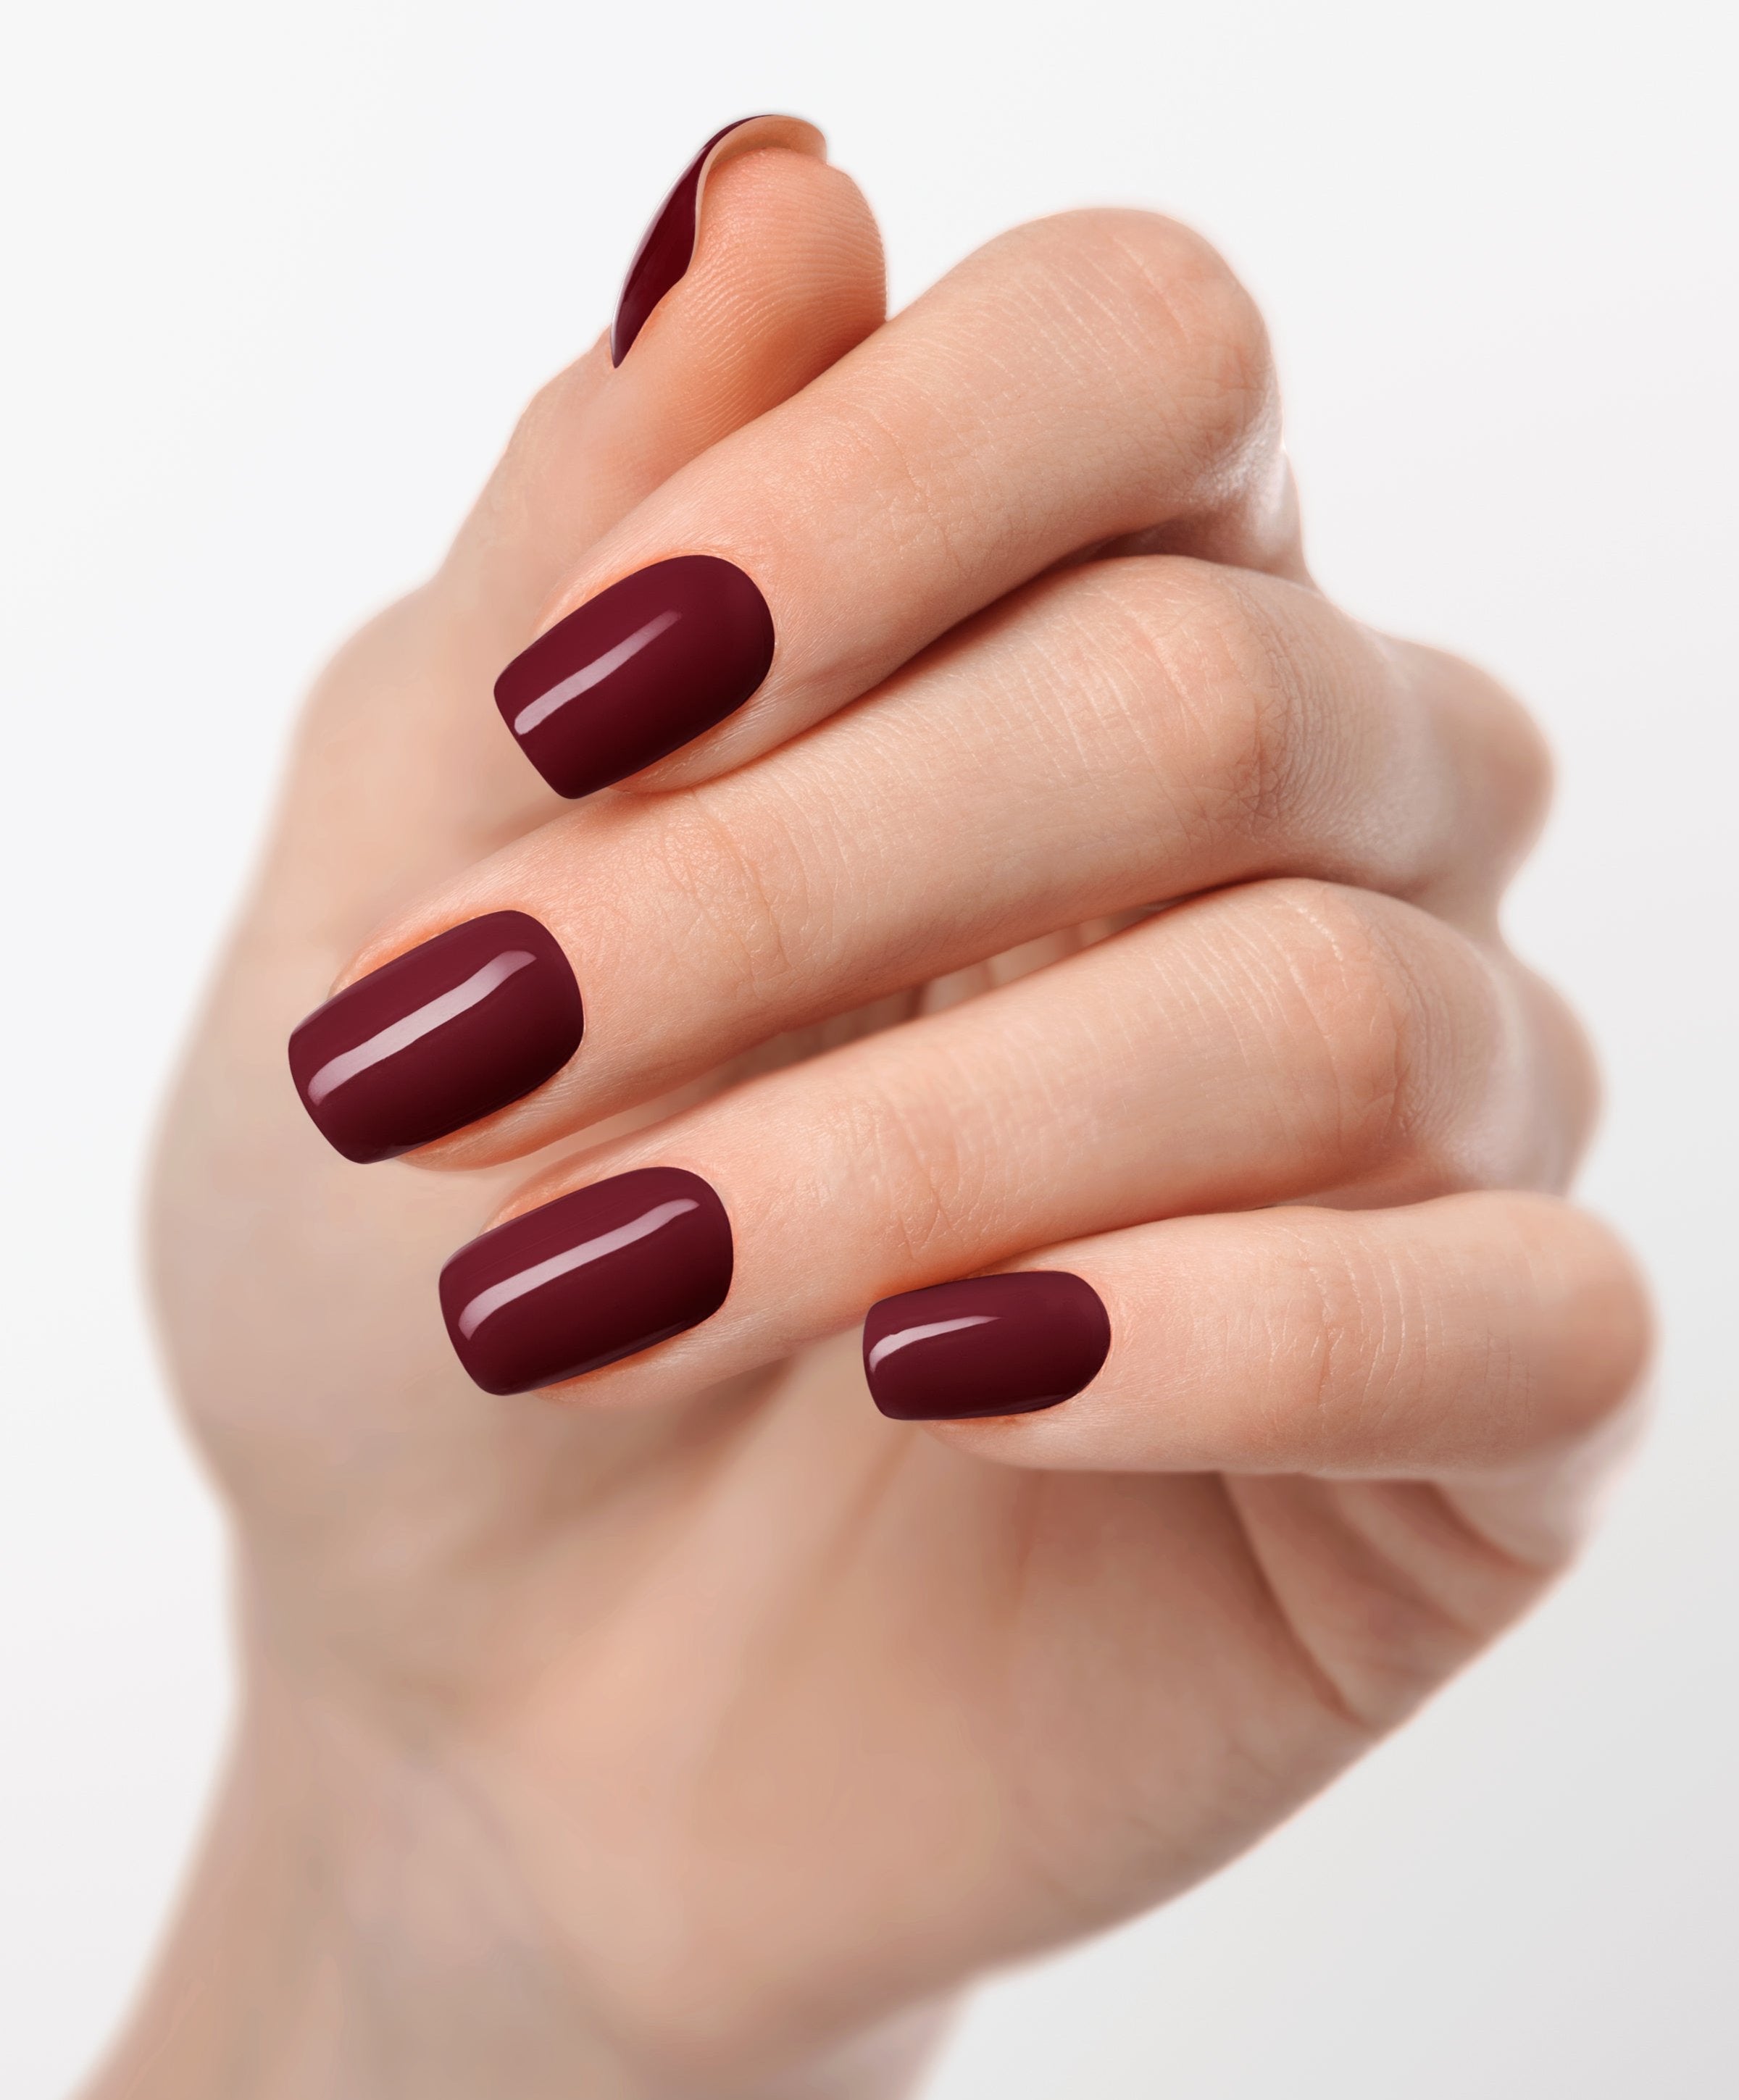
Burgundy Blaze UV (3)

Why Gel Strips?
Ignite your passion with Burgundy Blaze, our fiery gel nail strips. The deep burgundy hue adds a touch of drama to any look, while the long-lasting formula ensures your manicure stays vibrant for days. Experience the thrill of effortless, head-turning nails with Burgundy Blaze.
Application
Choose options


2-in-1 Nail Remover and Nourishing Oil
€9,50


Premium UV Lamp
€23,95


Shiny Top Coat
€14,90


EXPERIENCE THE MAGIC!
JOIN OVER 1,000+ HAPPY CUSTOMERS.✨
★★★★★
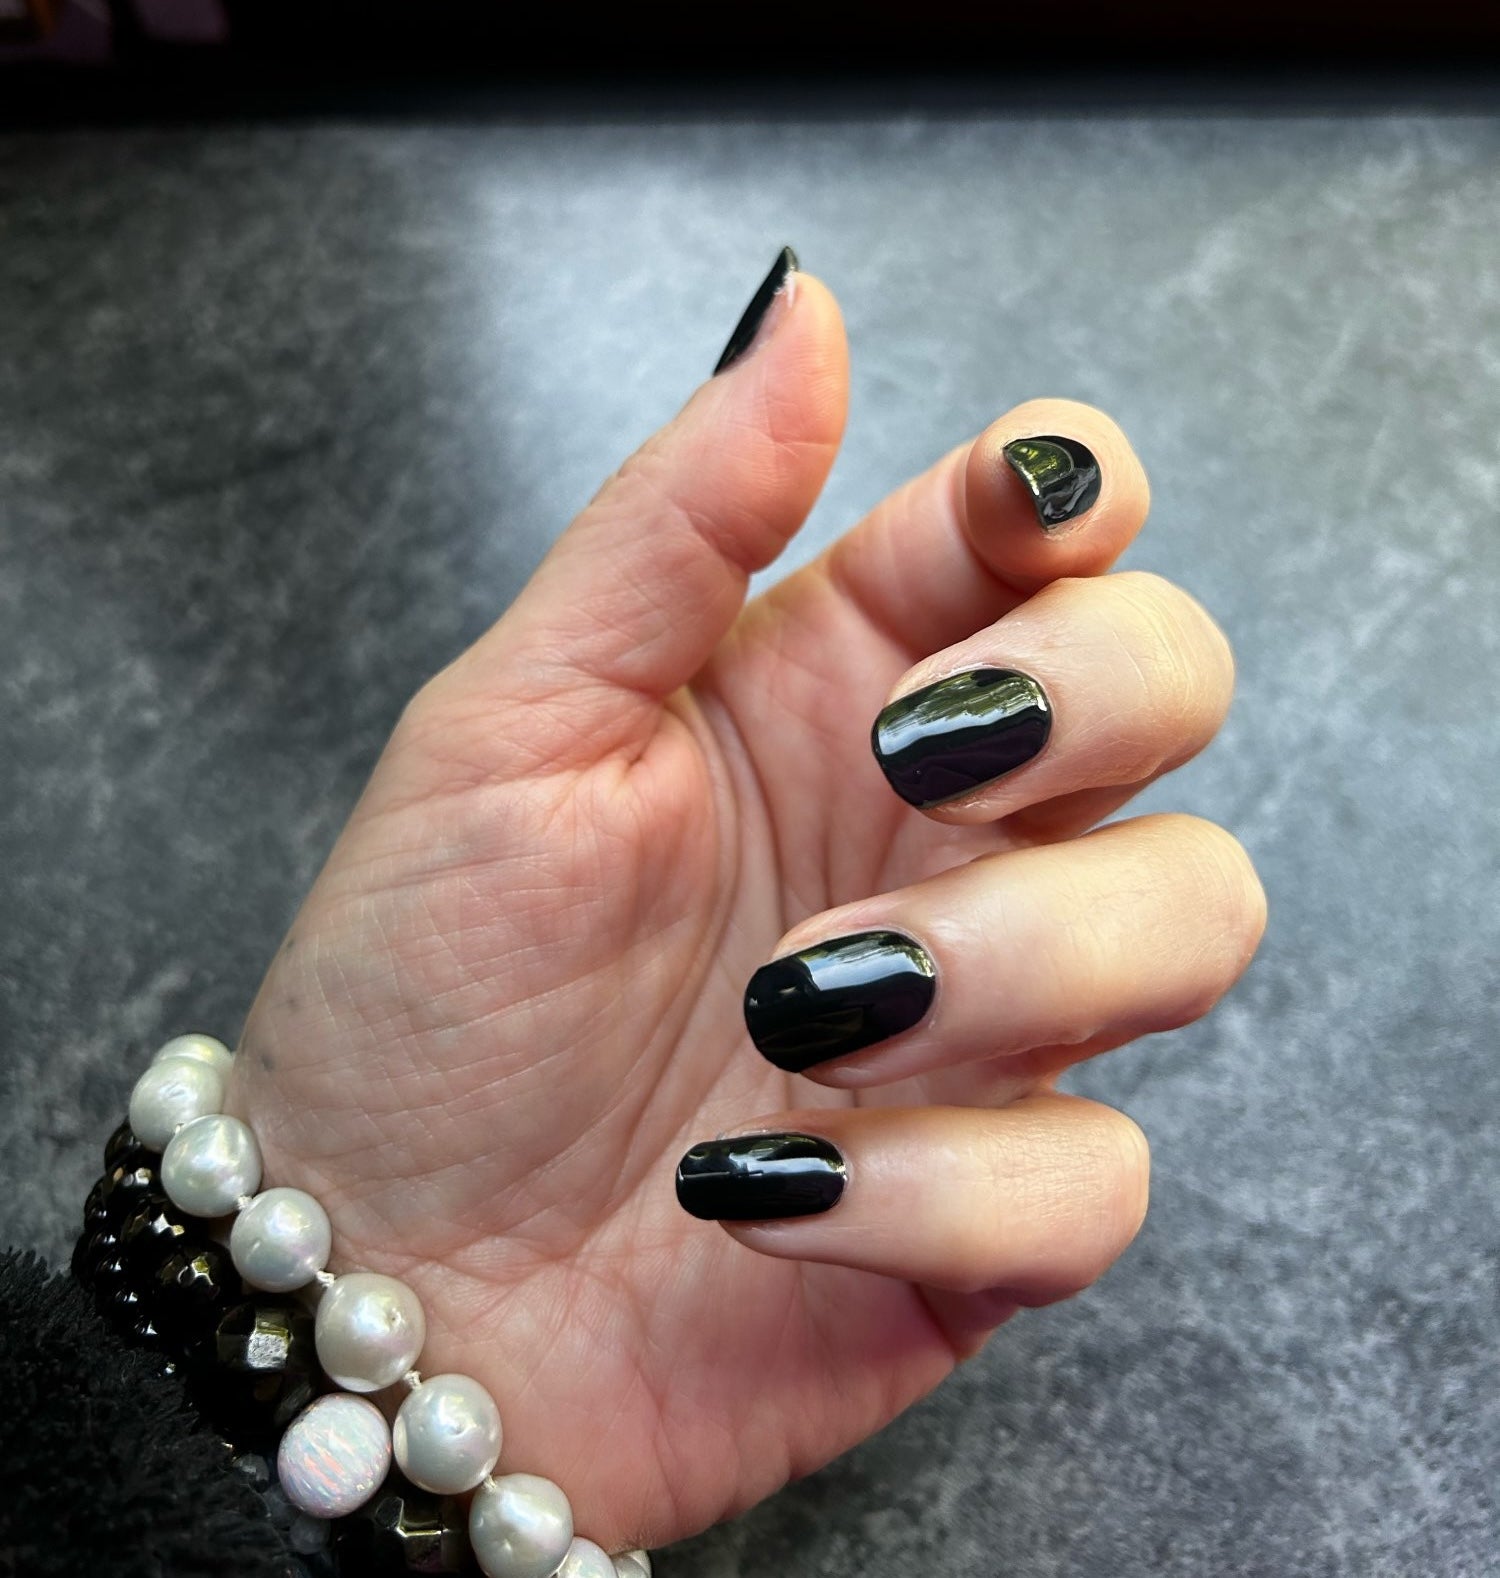
'I've been getting so many compliments on my nails. recommend !'
- Élodie M.
★★★★★
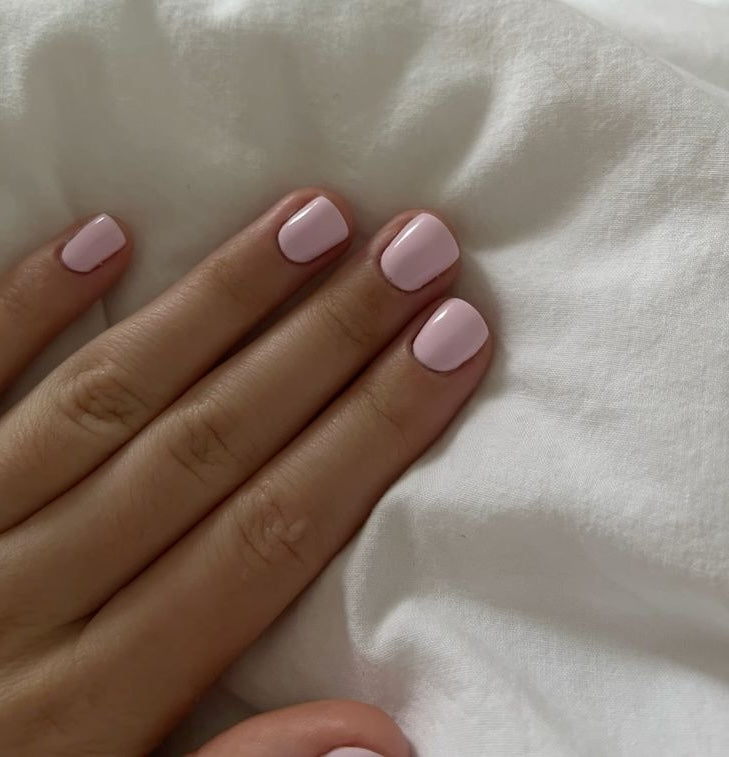
'Very nice color Thank you.'
- Yolanda R.
★★★★★
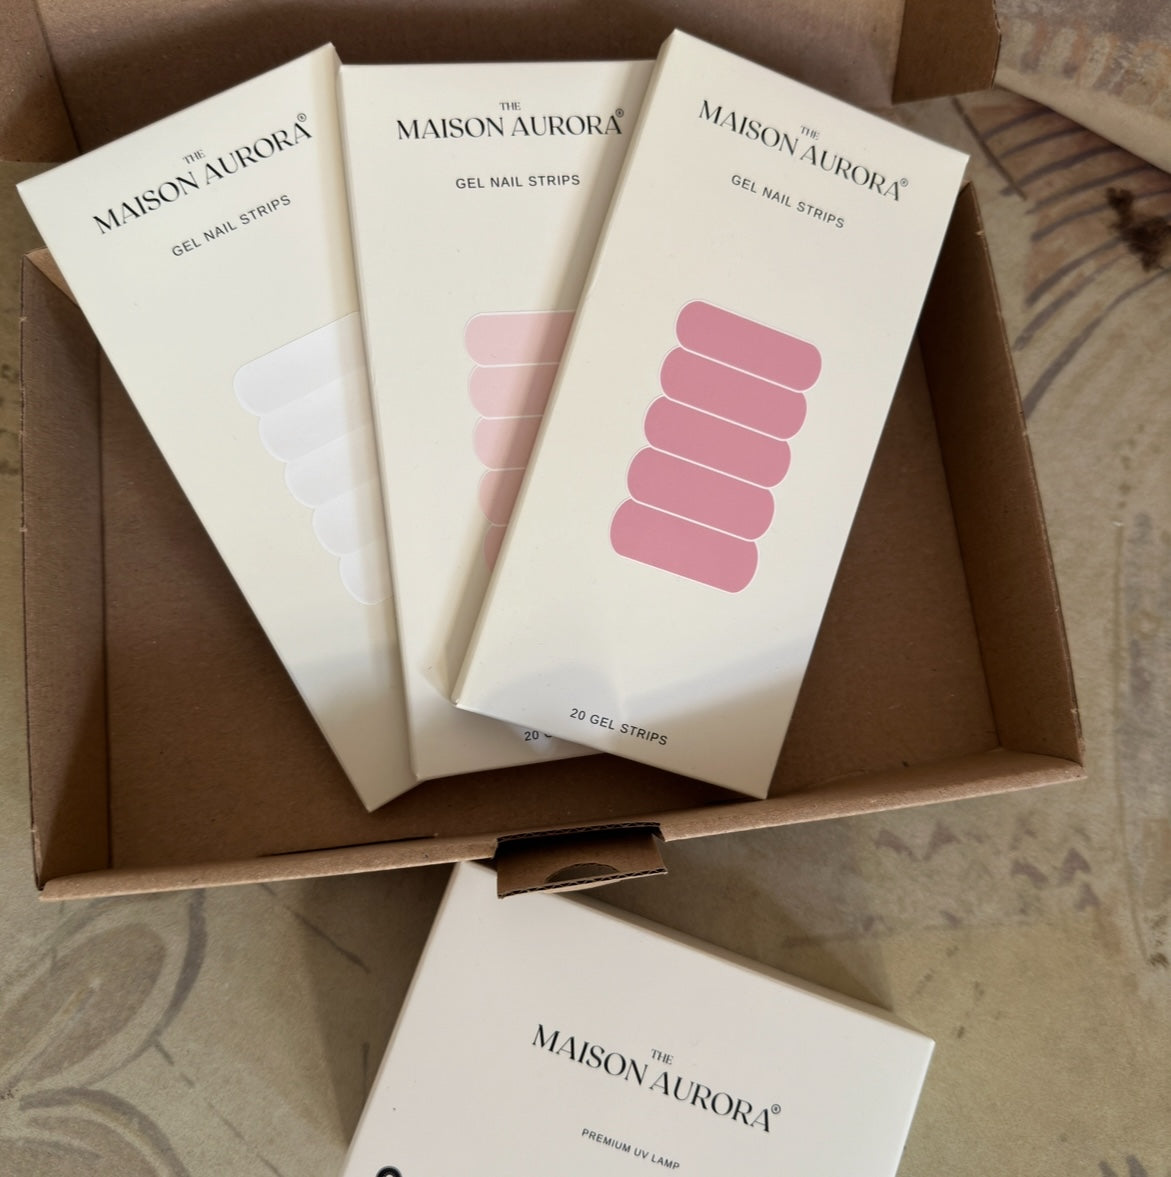
'Very satisfied with the product, it does what it promises.'
- Beatrice T.
★★★★★
'This things is the real deal. Love it so much.'
- Anja M.
AWARD WINNING INNOVATION
What Are Semicured UV Stickers?
Discover a revolution in nail care with our Semicured UV Stickers, combining the durability and shine of a professional gel manicure with the ease and convenience of at-home application. Say goodbye to traditional nail polish and salon visits—enjoy a flawless, long-lasting manicure in the comfort of your own home.

Quick & Natural
Achieve a natural, polished look effortlessly. Our easy-to-apply stickers offer the high-gloss finish of Shellac, ready in just minutes.

LONG-LASTING
Designed to last, our stickers provide chip-free wear for over two weeks, ensuring your nails look perfect through all your daily activities.

EASY APPLICATION
With a simple, 20-minute application process, you can have beautiful nails in no time. Ideal for busy schedules—get salon-quality results, fast.

Gentle & Vegan
Crafted with your health in mind, our stickers are vegan, HEMA-free, and free of harmful chemicals, making them safe even for sensitive skin.
How It Works:
Just 5 Simple Steps
1. STICK ON: Apply the sticker to your nail.
2. STRETCH: Adjust to cover the entire nail surface.
3. TRIM: Remove any excess material.
4. CURE: Harden under UV light.
5. SHAPE: File to your desired nail shape.
Removing Made Easy
3 Simple Steps
1. LOOSEN EDGES: Use a wooden stick to gently lift the sticker's edge.
2. APPLY OIL: Insert the oil pen tip under the lifted edge and apply oil.
3. PEEL OFF: Continue to lift and apply oil as needed, then remove the sticker smoothly.


Shop with Confidence
30-DAY SATISFACTION GUARANTEE
At Maison Aurora, your satisfaction isn’t just a priority—it’s a promise. That’s why we offer a 30-day satisfaction guarantee. Try our products risk-free for a full month. Not completely satisfied? Returning your purchase is easy and hassle-free.
Why Wait?
Start your risk-free trial today. Shop now and experience worry-free shopping. We’re committed to making sure you're fully satisfied, because when you’re happy, we are too.(The Satisfaction Guarantee Does Not Apply to Products on Sale)
Before/after
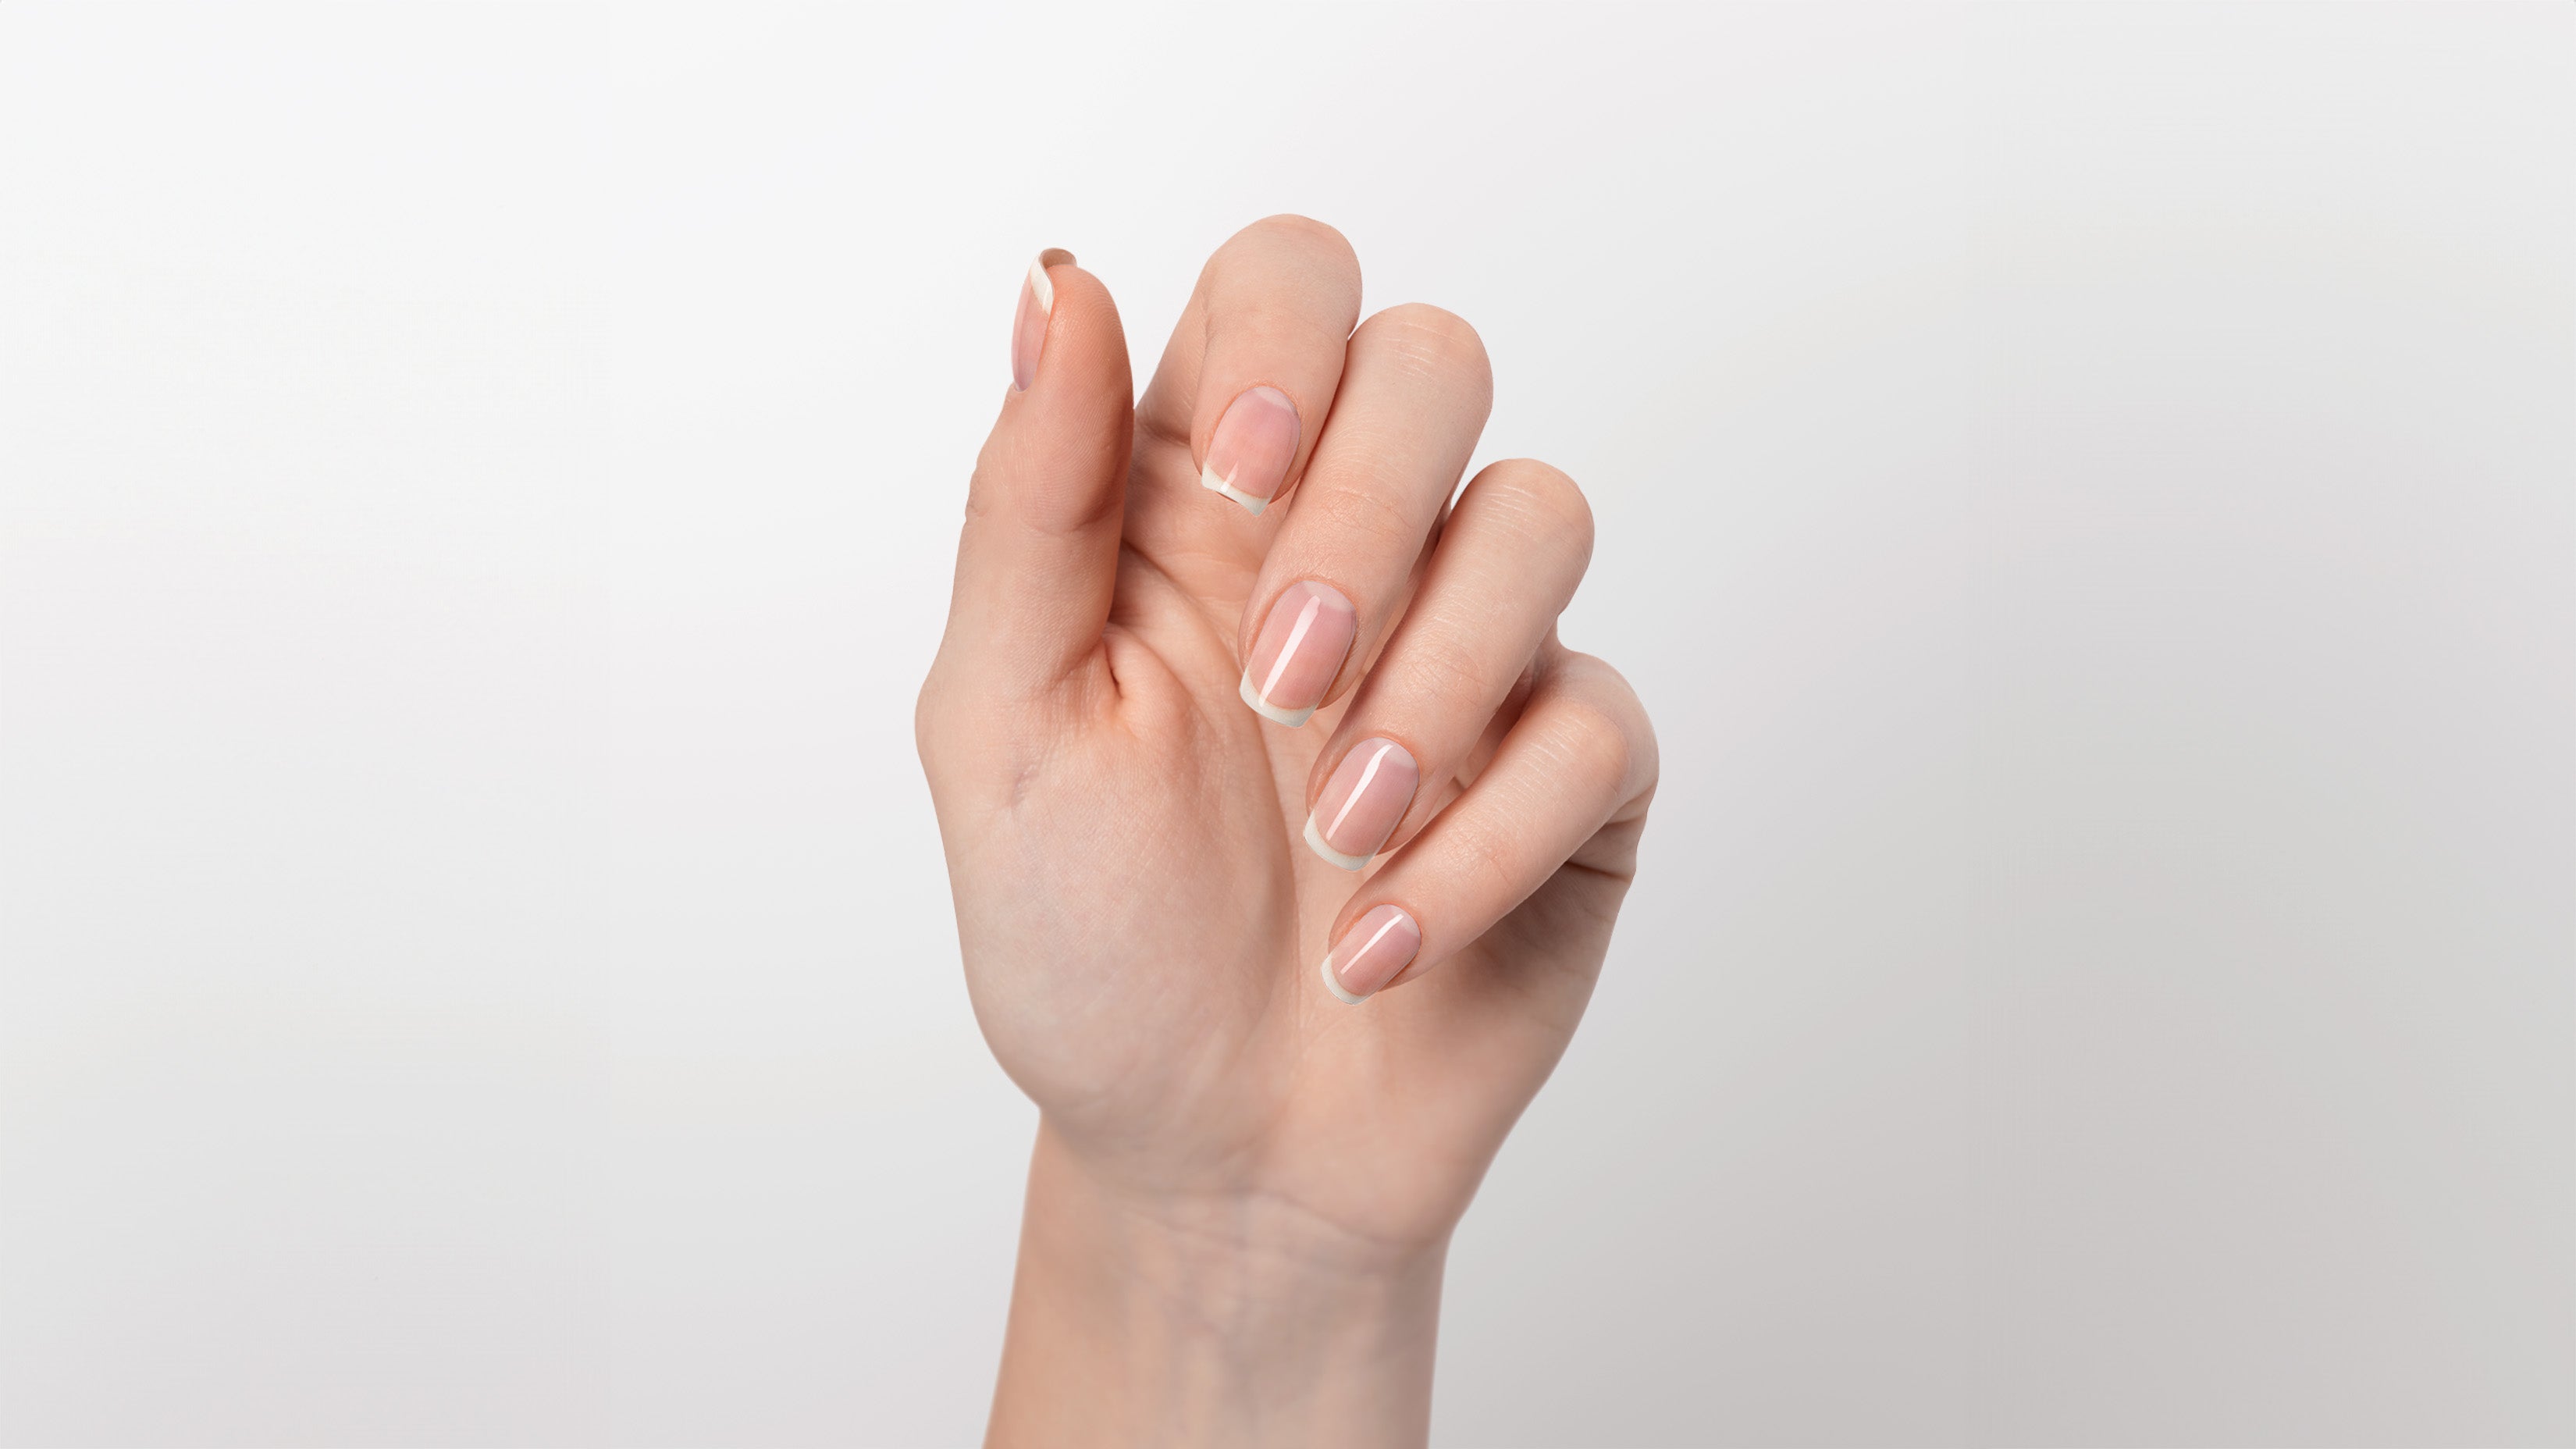
Before
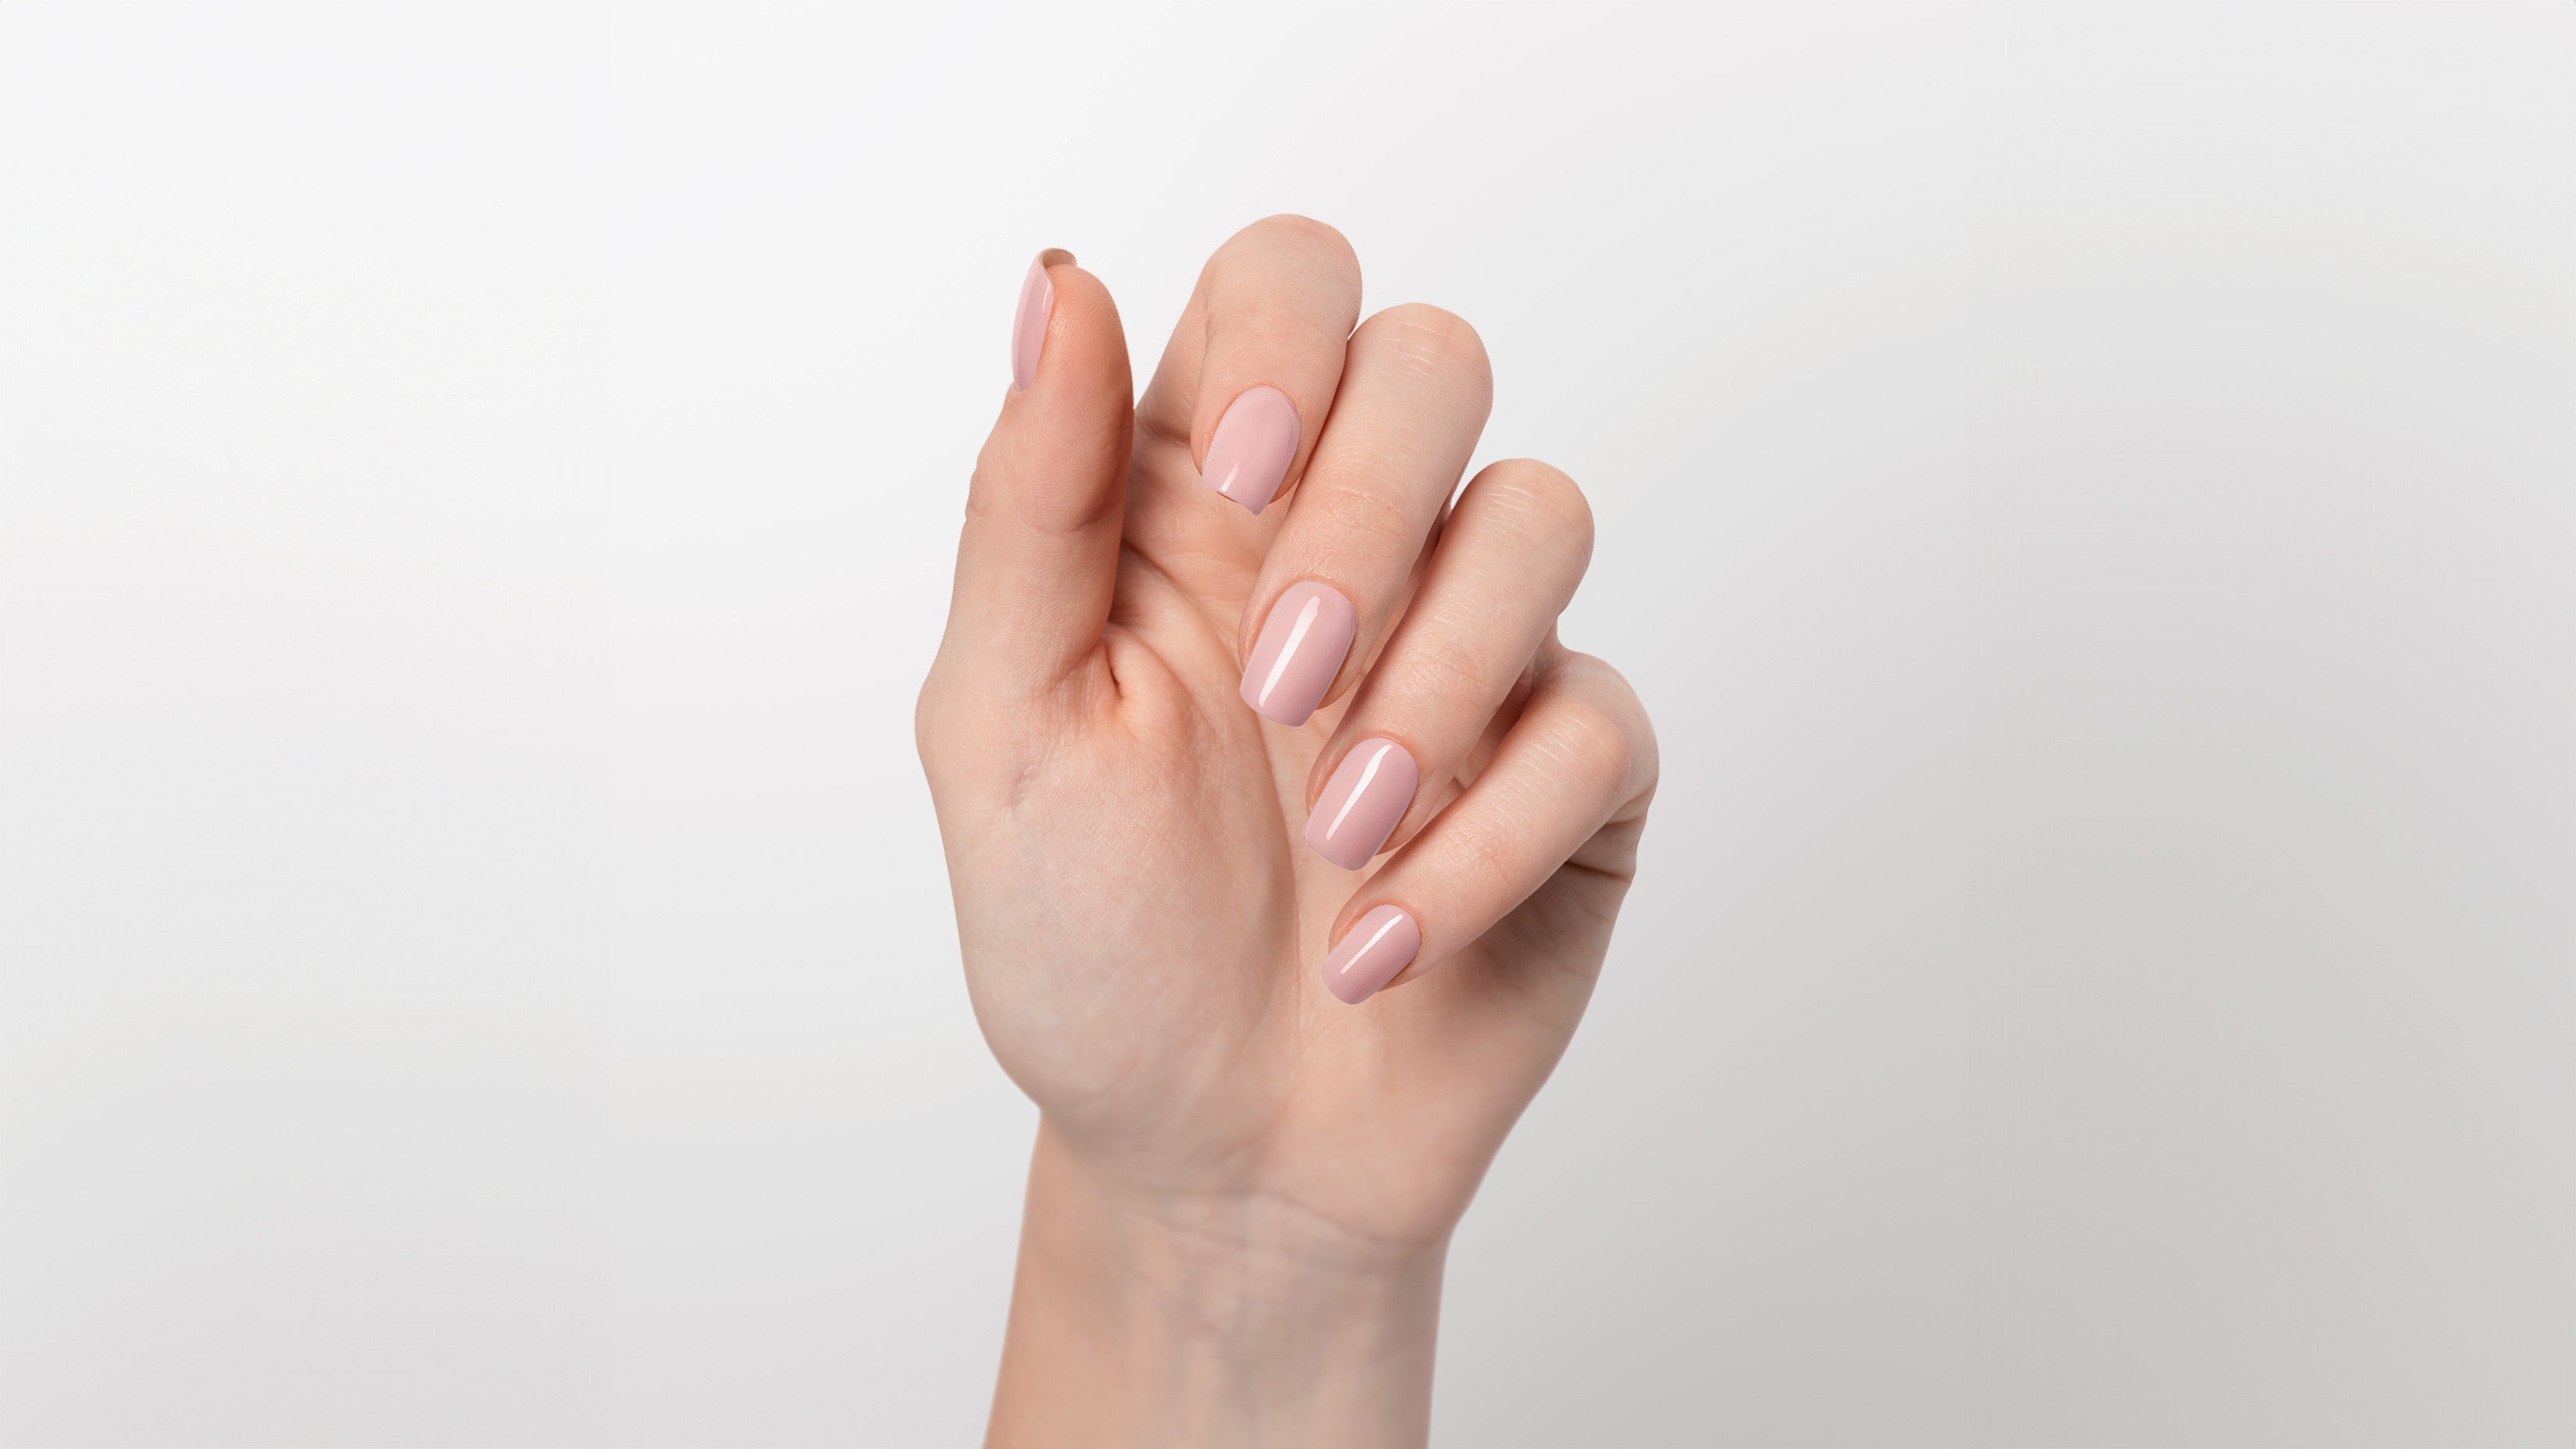
After
ALL YOUR QUESTIONS, ANSWERED RIGHT HERE
GOT ANY QUESTIONS ?
UV semi-cured gel stickers can last up to 14 days with proper application and care. Factors such as nail preparation, exposure to water, and how well they are cured can affect their longevity. Ensuring nails are clean and free of oils before application and avoiding excessive exposure to water can help extend their wear time.
Yes, these gel stickers are designed for easy removal. You can gently peel them off starting from the edge. If they are stubborn, you can soak your nails in warm water or use a nail polish remover to loosen the adhesive before peeling them off. It’s important to be gentle to avoid damaging your natural nails.
These gel stickers are formulated to be safe for natural nails. However, improper removal, such as forcefully peeling them off, can cause damage. To protect your nails, follow the recommended removal process and use a nourishing nail oil or treatment after removal to keep your nails healthy.
1. Prepare Your Nails: Clean and dry your nails thoroughly, pushing back cuticles and removing any oils.
2. Select the Right Size: Choose a sticker that fits your nail size. If necessary, trim the edges for a perfect fit.
3. Apply the Sticker: Peel the sticker from the backing and place it on your nail, starting from the base and smoothing it outwards to avoid air bubbles.
4. Cure Under UV Lamp: Cure the applied stickers under a UV/LED lamp for the recommended time (usually 60 seconds).
5. File Off Excess: File off any excess sticker from the nail tip using a downward motion.
6. Final Cure: Perform a final cure under the UV/LED lamp for additional security. For more detailed
For more detailed instructions, visit our Application page.
Proper Preparation: Ensure nails are clean and dry before application to help the stickers adhere better.
Avoid Water: Minimize exposure to water for the first few hours after application to allow the adhesive to fully set.
Top Coat: Applying a UV top coat can provide an extra layer of protection and enhance durability.
Use Gloves: When doing household chores or activities that involve prolonged contact with water, wear gloves to protect your nails.
Regular Maintenance: If edges start to lift, gently press them down and cure again under the UV lamp to re-secure them.
UV semi-cured gel stickers offer a convenient and time-saving alternative to traditional gel polish. They provide a salon-quality finish without the need for extensive skill or time. Unlike traditional gel polish, which requires careful application and multiple layers, gel stickers are pre-cured and only need a final curing under a UV/LED lamp. This makes them easier and faster to apply, with less mess and no drying time.
UV semi-cured gel stickers are generally safe for regular use. They are designed to be gentle on the nails and avoid the harsh chemicals found in some traditional nail products. However, it’s important to follow proper application and removal procedures to prevent damage to your natural nails. Taking breaks between applications and using nail care products can help maintain healthy nails.


